











We know the drill. A uniform shirt, often white or a light colour, is a magnet for mud, pen ink, grass, and the ubiquitous ketchup smudge. But what often separates a successful stain removal from a permanent, yellowed shadow is not just the stain remover you grab, it is understanding the fabric itself.
This guide, written from the trenches of real life laundry experience, offers not just the 'how' but the 'why' behind effective stain removal, giving you the practical expertise to win the uniform war and keep those shirts looking presentable for more than a week.
Read more: Best Parenting Podcasts of 2025 (For Moms & Dads)
The fabric foundation:what it is made of changes everything
Before you attack a stain with the nearest available cleaner, pause and look at the label. A uniform shirt is rarely just one thing. It is usually a blend, and the composition of that blend dictates your cleaning strategy.
Treating a polyester stain the same way you treat a one hundred percent cotton stain is the most common reason for setting a mark permanently.
This principle applies to the entire wardrobe; whether you are trying to save a white poplin shirt or a pair of durable boys khaki uniform shorts by French Toast, checking the label for blend percentages is your first line of defense.
Top-tier uniform brands often make this easy by clearly featuring fabric composition such as specific "Cotton Blend" ratios or proprietary "Wrinkle No More™" designations, right on the care tag.
This information acts as your cleaning blueprint: seeing high polyester content warns you immediately to avoid hot water on oily stains, while a high cotton percentage gives you the green light for a long enzyme soak.
Cotton: the absorbent sponge
What it is: A natural fibre, highly breathable, soft, and durable. The challenge: Cotton is extremely absorbent. It acts like a sponge, drawing oily and water based stains deep into its fibres almost instantly.
The solution: Cotton is robust and can handle heat (once the stain is out) and more aggressive pre treatments like enzyme based detergents. The key is to keep it cold until the stain is fully removed, especially for protein stains (like blood or food).
Polyester: the oil repeller with a heat problem
What it is: A synthetic, petroleum based fibre, excellent for durability and wrinkle resistance. The challenge: Polyester naturally repels water based stains (like juice or mud), but it has an affinity for oil and grease. Even worse, it melts at high temperatures, and high heat permanently bonds oil stains to the plastic like fibres. A polyester stain that goes through the dryer is almost always set forever.
The solution: Use warmer water (not hot) to start. Focus on degreasers and surfactants (found in dish soap or heavy duty laundry detergent) to break down the oil. Avoid high heat at all costs.
Poly cotton blends: the balancing act
What it is: The most common uniform shirt fabric, combining the breathability of cotton with the wrinkle resistance and durability of polyester. The challenge: You have to fight both battles. The cotton absorbs the liquid, and the polyester locks in the oil.
The solution: Your safest bet is to treat it first as a polyester stain (focus on degreasing and using lower heat) and then treat it as a cotton stain if a residual colour remains. Patience is non-negotiable with blends.
The uniform stain field manual: proven solutions
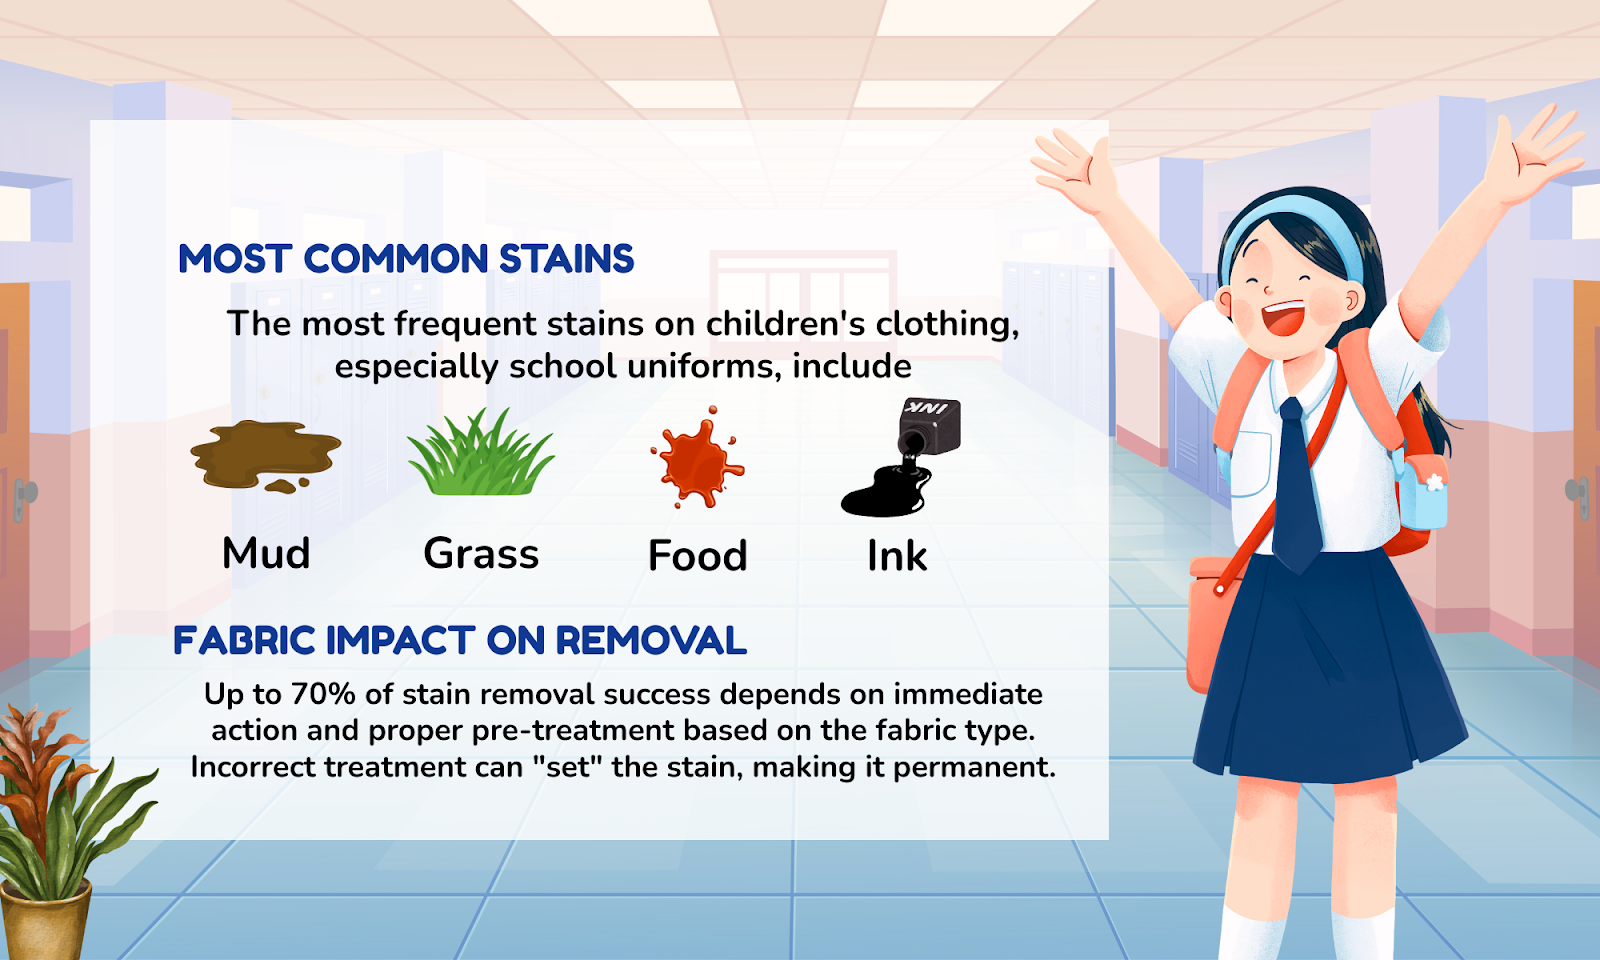
Image created by Ron Clark for familydaysout.com
This section details the five most common uniform shirt stains and the targeted removal strategy for each.
1. The playground peril: grass and mud
This is a combination stain: mud is typically dirt (mineral/clay) and water, while grass is a chlorophyll/dye stain mixed with protein (from the plant cell structure).
Strategy: the scrape, soak, and scrub method
- Initial scrape (crucial): Let the mud dry completely. Brushing wet mud will only grind it deeper into the cotton fibres. Once dry, use a stiff brush (like an old toothbrush) or the back of a dull knife to gently scrape off the excess surface dirt.
- The grass attack: For the green stain, apply an enzyme based laundry pre-treator or liquid detergent directly to the spot. Enzymes specifically break down the proteins and pigments in the grass.
- The deep clean: Soak the shirt in cold water mixed with a good enzyme detergent for at least 30 minutes, or even overnight for severe stains.
- Launder: Wash as usual in the coldest recommended water setting. Air dry to ensure the green dye is completely gone before applying any heat.
2. The lunchtime disaster: ketchup, juice, and jam
These are predominantly tannin stains (from plant pigments) mixed with sugar.
Strategy: cold rinse and vinegar neutralisation
- Immediate cold rinse: Turn the shirt inside out and run cold water from the back of the stain. This pushes the stain out through the fabric instead of driving it further in. Never use hot water, as the sugar will caramelise and set the stain permanently.
- Pre-treat: Apply a spot of white distilled vinegar directly to the stain. Tannin stains are acid sensitive, and the vinegar helps to neutralise the red pigment. Let it sit for 5 minutes.
- Launder: Wash in cold water with your usual detergent. If the stain remains, apply a small amount of liquid oxygen bleach (colour safe bleach) and soak for several hours before re- washing.
3. The unauthorised art: pen ink
This is a notoriously difficult stain, often involving alcohol soluble dyes (permanent marker) or oil soluble dyes (ballpoint pen).
Strategy: targeted alcohol dissolution
A cautionary note: before starting, place an old, clean towel inside the shirt, directly under the stain. This prevents the ink from bleeding onto the back layer of the shirt.
- The ballpoint stain (most common): Ballpoint ink is oil based. Use a cotton swab dipped in rubbing alcohol (isopropyl) or hand sanitiser. Dab the swab repeatedly, working from the outside edge of the stain inward. The ink should transfer onto the swab and the towel beneath. Do not rub, as this spreads the stain.
- The marker stain: Marker ink is often dye based. Use nail polish remover containing acetone (always patch test on an inner seam first, especially on polyester blends, as acetone can damage synthetics).
- Rinse and wash: Once the ink is gone, rinse the area thoroughly and immediately machine wash on the hottest setting the fabric can handle (check the label) with a heavy duty detergent to remove the alcohol/acetone residue.
Image from Pexels
4. The grime and grease: mystery oils and bicycle chain marks
This is a pure grease/oil stain, often picked up from bicycle chains or snacks at theme parks.
Strategy: the dish soap degreaser and powder lift
- Act fast: The moment you spot an oily mark, do not wet it with water. Oil and water do not mix, and water will only push the oil around.
- The dish soap method: Apply a small amount of concentrated liquid dish soap (the kind meant for handwashing dishes, as it is a powerful degreaser) directly onto the stain. Use your finger to gently work the soap into the fibres.
- The powder lift: Sprinkle a dry absorbent powder; cornflour, cornstarch, or baking soda over the soap/oil spot. The powder absorbs the lifted grease. Let it sit for 15 to 20 minutes, then brush the powder away.
- Wash: Launder in the warmest water safe for the fabric, but avoid the dryer until the stain is completely gone.
5. The protein problem: blood
A very common, often scary looking stain. Blood is a protein stain that coagulates and becomes permanent when exposed to heat.
Strategy: the cold enzyme soak
- Immediate cold water only: Rinse the stain under a strong jet of cold water.
- The enzyme treatment: Soak the shirt in a bowl of cold water mixed with a scoop of an enzyme laundry booster or a heavy dose of enzyme based liquid detergent. Soak for several hours.
- The hydrogen peroxide option (for white/light shirts): If the stain persists, apply 3% hydrogen peroxide directly to the stain. It will bubble as it breaks down the blood's proteins and pigments. Rinse with cold water immediately after the bubbling stops. (Note: peroxide can slightly lighten coloured fabric, so use it sparingly and test first.)
- Launder: Wash as usual in cold water.
The three cardinal rules of uniform stain removal
Over the years, the most significant difference between parents who conquer stains and those who replace shirts comes down to three rules.
Rule 1: never put a stained item in the dryer
This cannot be overstated. Heat from a dryer, or even a hot water wash, will chemically change the composition of the stain and the fibre. Protein stains (blood, grass) will cook and bond. Oil stains (grease, ketchup residue) will fuse with the polyester threads. Always air dry a questionable shirt and inspect it in good light before running it through the dryer. If the stain is still visible, repeat the treatment.
Rule 2: always work from the back
When rinsing or pre-treating a fresh, wet stain, approach it from the back side of the fabric. This forces the stain out through the front where it entered, rather than pushing it deeper into the intersecting fabric fibres.
Rule 3: patience is your best tool
Stain removal is often a marathon, not a sprint. A severe stain on a poly cotton blend may require: a cold water rinse, a dish soap scrub, an overnight enzyme soak, a wash cycle, and then a final spot treatment with vinegar or peroxide. It is the consistent re application before drying that saves the garment.
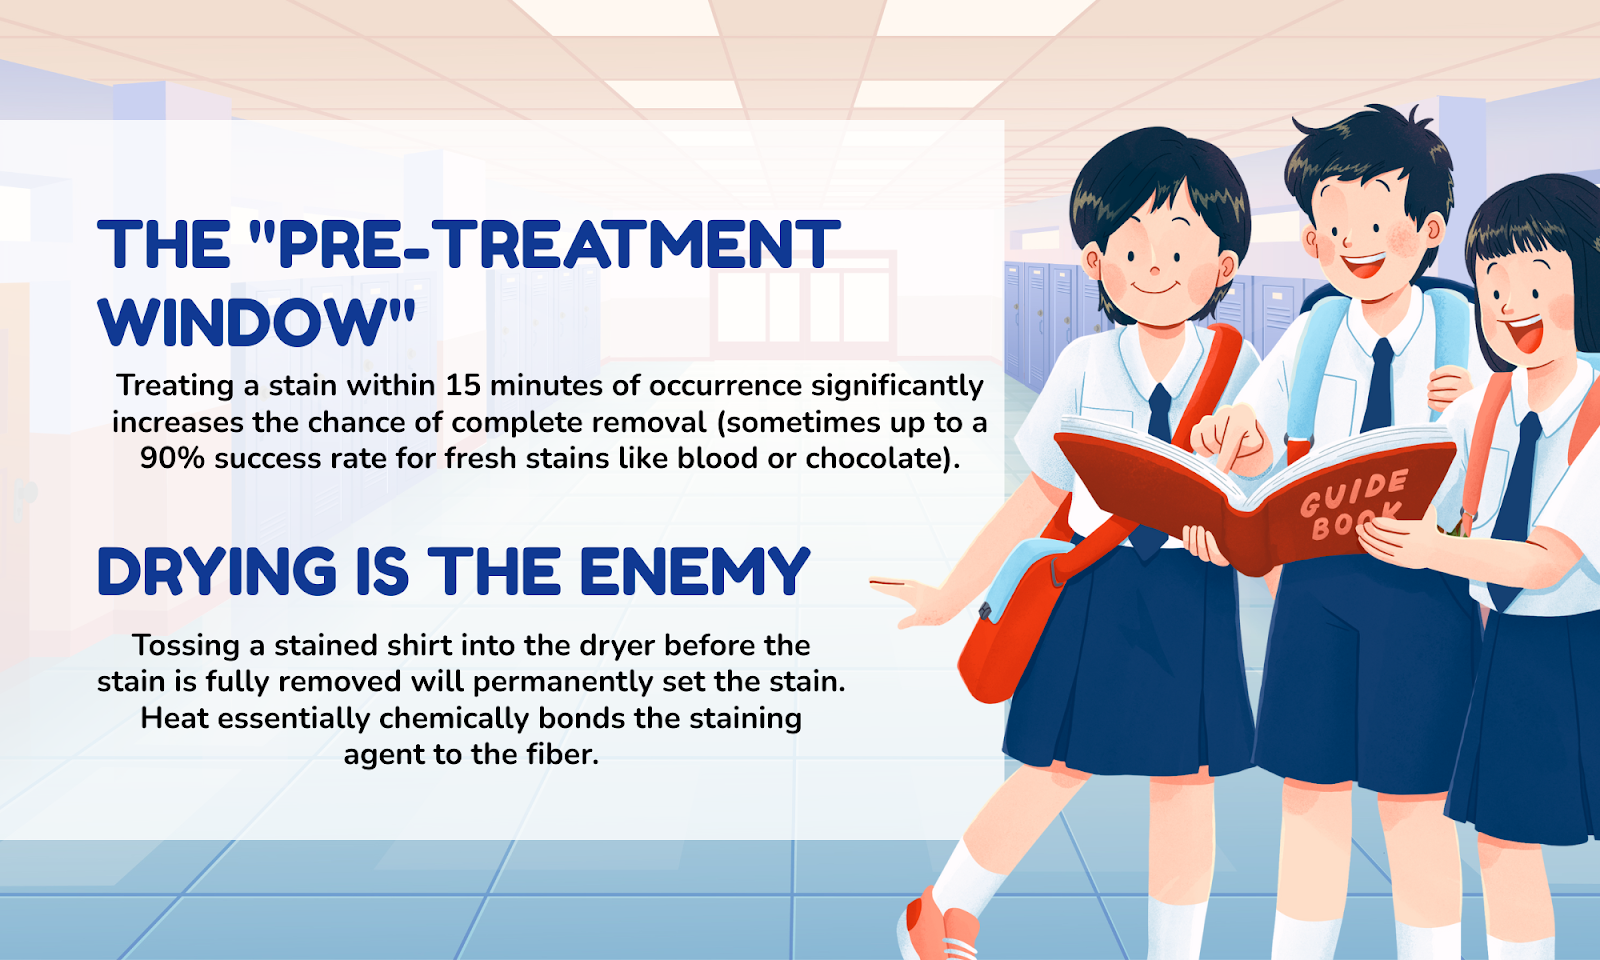
Image created by Ron Clark for familydaysout.com
A practical shopping list for your laundry arsenal
To be truly prepared for the school year, you need more than just one bottle of generic spray. Stock your laundry room with these essential, inexpensive items:
- Enzyme based laundry detergent/booster: the best defence against protein and starch (grass, food, blood).
- White distilled vinegar: a natural acid for neutralising tannins (juices, coffee, tea).
- Liquid dish soap (concentrated): the ultimate, cheap degreaser for oil and grease.
- Rubbing alcohol (isopropyl): essential for dissolving oil based inks.
- Three percent hydrogen peroxide: a gentle brightener and blood remover for light fabrics.
- Baking soda or cornstarch: acts as a drawing agent for lifting deep seated grease.
By combining the right pre treatment with an understanding of your boy's uniform fabric, be it absorbent cotton or heat sensitive polyester- you can move from simply masking stains to truly removing them. It is about being smarter, not just scrubbing harder.
Read: More School Year Survival Tips from FamilyDaysOut

Image from Pexels



Ashley Pugh ;
Ashley Pugh is one of the Co-Founders of Familydaysout.com and has been committed to writing family related content since 2008. There isn't much about family attractions that Ashley doesn't know, after visiting hundreds of them worldwide over the last 20 years.
Leave a comment